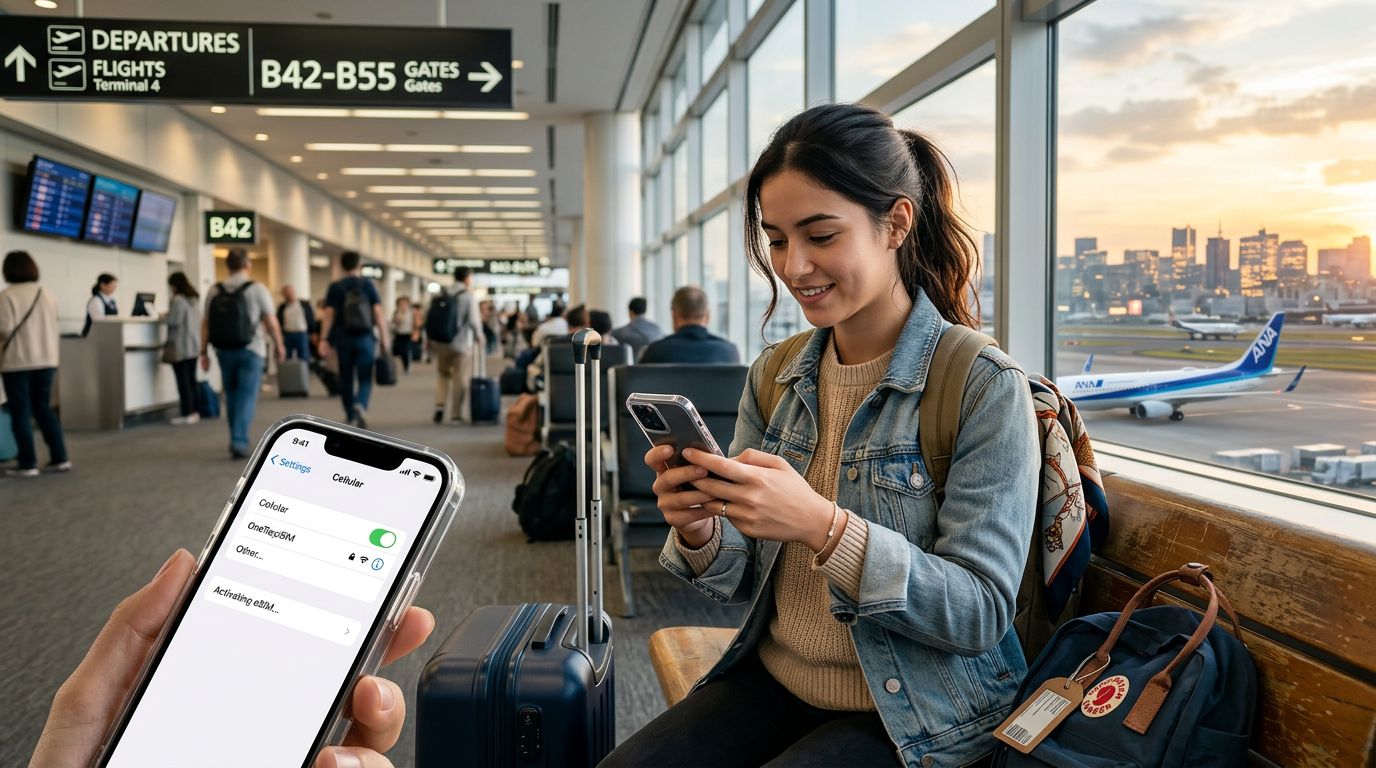
The transition from physical SIM cards to eSIM technology has fundamentally changed how we manage cellular connectivity while traveling. For iPhone users, the move to a digital SIM offers unparalleled convenience, allowing you to switch carriers or add international data plans without needing to visit a local shop or swap out tiny, easily lost plastic cards. If you have recently purchased a digital plan from a provider like OneTapSIM, you might be wondering about the technical process of getting it running on your device.
Understanding eSIM Compatibility and Preparation
Before you begin the installation process, it is important to confirm that your device is ready for the transition. Most modern iPhones, starting from the iPhone XS and XR series and moving forward, support eSIM functionality. However, regional restrictions can apply; for instance, devices purchased in certain countries may have different hardware configurations.
To ensure a smooth setup, verify that your iPhone is connected to a stable Wi-Fi network. While you can sometimes activate an eSIM using cellular data from your existing plan, a Wi-Fi connection is the most reliable method to ensure the profile downloads correctly without interruption. Additionally, ensure your iPhone is running the latest version of iOS. Apple frequently updates its software to improve connectivity protocols, and having an outdated operating system can occasionally lead to errors during the provisioning of a new eSIM profile.
It is also vital to ensure your device is carrier-unlocked. If your iPhone is locked to a specific mobile operator, it will not accept an eSIM from a different provider. You can check this status by going to your device settings, selecting General, and then tapping About. If you see "No SIM restrictions" under the Carrier Lock section, your device is ready to use an eSIM from any provider, including OneTapSIM. If it shows a restriction, you must contact your original carrier to request an unlock before proceeding.
Step-by-Step Installation Process
Once you have confirmed your device is compatible and unlocked, the actual activation process is straightforward. Most providers will supply you with a QR code or a manual activation code sent via email.
To start, open the Settings app on your iPhone. Navigate to the Cellular or Mobile Data section. Within this menu, you will see an option labeled "Add eSIM" or "Add Cellular Plan." Tapping this will open a setup wizard. You will typically be presented with two main options: "Transfer from nearby iPhone" or "Use QR Code." For travel eSIMs, you will almost always select the QR code option.
If you are using a QR code provided by OneTapSIM, simply scan the code using your iPhone’s camera when prompted. Your phone will automatically recognize the data plan and begin the installation. If you cannot scan the code—for example, if the QR code is displayed on the screen of the same device you are trying to activate—you can choose the option to "Enter Details Manually." This will require you to input an SM-DP+ address and an activation code provided by your service operator.
After scanning or entering the details, follow the on-screen prompts to label your new plan. Most users prefer to name it "Travel" or "OneTapSIM" to distinguish it from their primary home carrier. You will then be asked to choose your default line for voice and data. For travelers, it is usually best to set your primary SIM for calls and SMS, while selecting the new eSIM for cellular data to avoid roaming charges from your home network.
Managing Your eSIM Settings While Traveling
After the installation is complete, your iPhone will take a few moments to register with the local network. You may see a signal icon appear for your new eSIM in the Control Center. It is important to configure your settings correctly to prevent your home carrier from triggering expensive roaming charges.
Go to Settings and select Cellular. Tap on your primary home SIM and ensure that "Data Roaming" is turned off. Then, select your newly installed eSIM and ensure that "Data Roaming" is turned on. This allows your phone to connect to the local partner networks provided by your travel service. If you find that you are not receiving a signal immediately upon arrival in a new country, toggle Airplane Mode on and off. This forces the iPhone to scan for available networks again.
You can store multiple eSIM profiles on your iPhone, though the number of active eSIMs depends on your specific model. For newer iPhones, you can have two active eSIMs simultaneously, allowing you to keep your home number active for important messages while using your OneTapSIM plan for maps, social media, and web browsing. If you are traveling through multiple countries, you can keep your previous eSIM profiles stored in your settings and simply toggle them on or off as you cross borders.
If you ever need to remove a plan, the process is just as simple as the installation. Return to the Cellular section in your settings, tap on the plan you wish to remove, and select "Delete eSIM." This will permanently remove the profile from your device. Remember that deleting an eSIM does not cancel your service contract with the provider, but it does clear the digital configuration from your hardware. By following these steps, you can enjoy seamless connectivity wherever your travels take you, ensuring you stay connected without the hassle of physical SIM cards.